Designing a Simple Maze
29th May 2019
It's great fun designing your own logic mazes. All you need is a piece of paper and a pen or pencil, or a dry-wipe board. If like me you make mistakes you'll probably need an eraser if you're using a pencil, or a bottle of Tippex if you're using a pen. You also need a coloured marker - I've chosen yellow.
A good place to start is a 5 x 5 arrow maze. If you're not sure how these work see Arrow Mazes on Mazelog.
Firs draw in the goal, and the starting arrow. With a square maze you've only two choices for this: pointing right or pointing down:
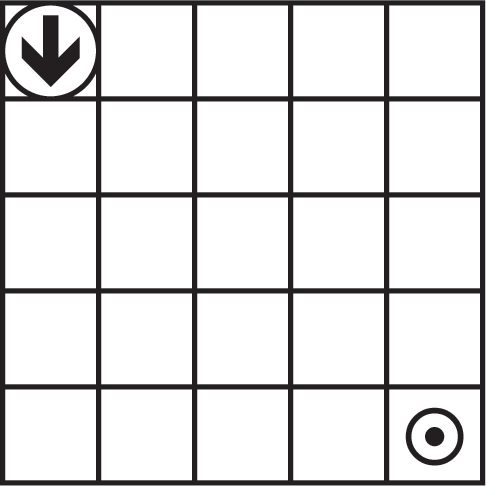
Draw a circle around the first arrow to indicate that it's part of the route to the goal.
Adding a trap
There's no point having a long path to the goal if there are no alternative paths to mislead the solver, so next I'm going to add a trap. Once the solver has got onto the trap they can't get back onto the path to the goal:
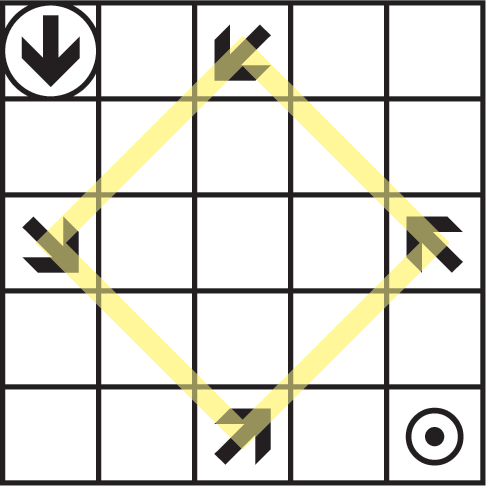
Draw a coloured line through the cells pointed at by the arrows that form the trap. You can't use these for your route to the goal because that might give the solver a shorter way of getting to the goal.
Starting the route
Starting from the arrow in the top left corner we'll draw the second arrow on the route. Then we draw a coloured line through all the other cells pointed to by the starting arrow; we can't use these as part of the route as they would provide a short cut to the goal:
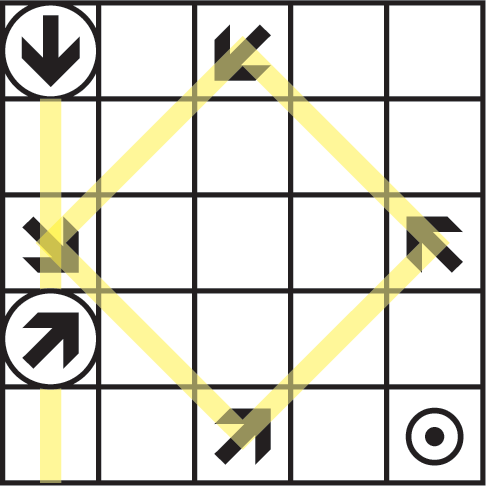
Continue designing the route in this way, always choosing a cell that hasn't been crossed out for your next step, and then cross out all the other cells pointed to by the previous arrow. For example:
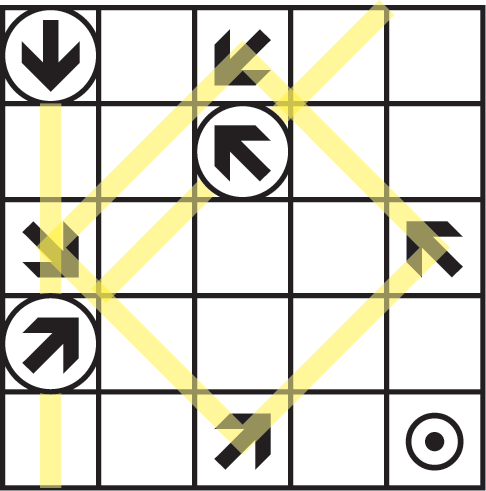
Finish the route
Draw in the remaining arrows to make the route to the goal. For example, here are eight more arrows:
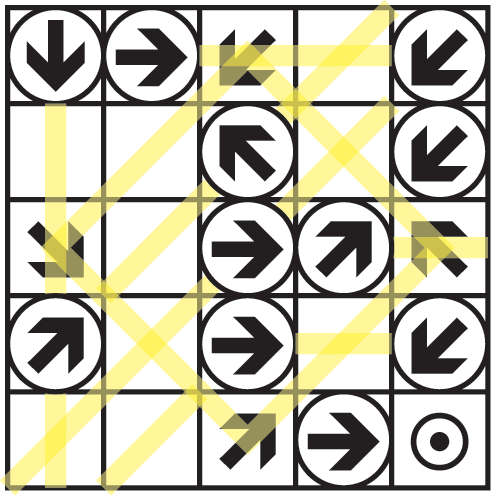
Note that you may find that you've chosen an arrow for the route that doesn't point to any empty cells. In this case you'll need to backtrack, which is where it's useful having a dry-wipe board so you can easily edit what you've drawn.
My total route is 11 steps long, which is about the best you can do with a 5 x 5 arrow maze with a trap.
Fill in the remaining cells
The final task is to fit arrows into the remaining cells. The best way to do this is to travel along the route to the goal; each time you cross an empty cell put an arrow into it that doesn't provide a short cut to the goal. To do this, make it either point to an earlier part of the route, or make it point only to the trap.
Here's how I put in the nine remaining arrows:
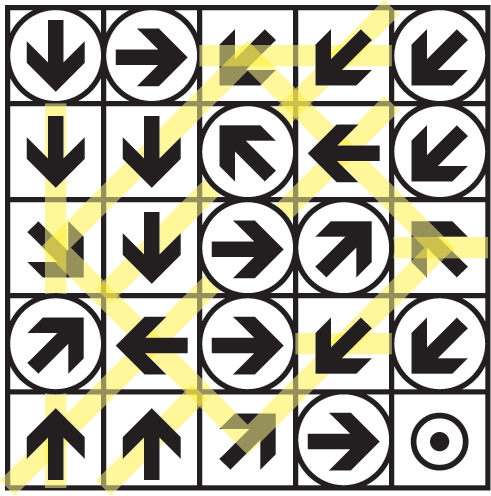
And here's the finished maze:
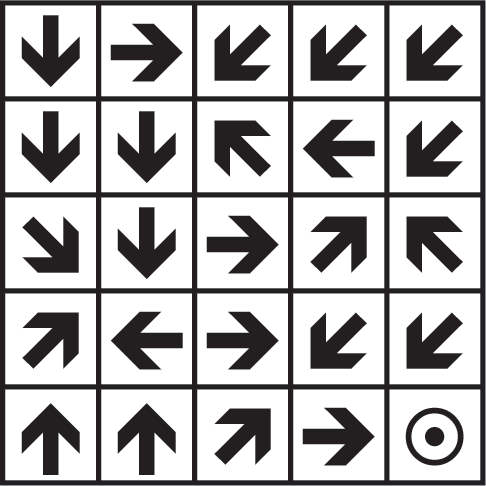
Now try designing your own arrow maze!
blog comments powered by Disqus
